Friday, October 26, 2018

Fa la,la la Llama-- More Christmas cards.

Well, here I am again with more cards for Christmas.  I have found this stamp set so adorable that I just had to try it.  It is called "Festive Llama" and it is from Pink Fresh Studios.  It is the cutest!  I did not get the die set because I figured out that it is easy enough to cut out by hand.  So old school, I know.  The main reason I bought this is the "Fa, la, la llama" sentiment, which is so adorable!

After stamping it out in Momento Tuxedo Black ink, I set about coloring the images.  For this I used many of my favorite coloring mediums.  The first idea was to use KaiserCraft Gel Pens 36 pc. set.  


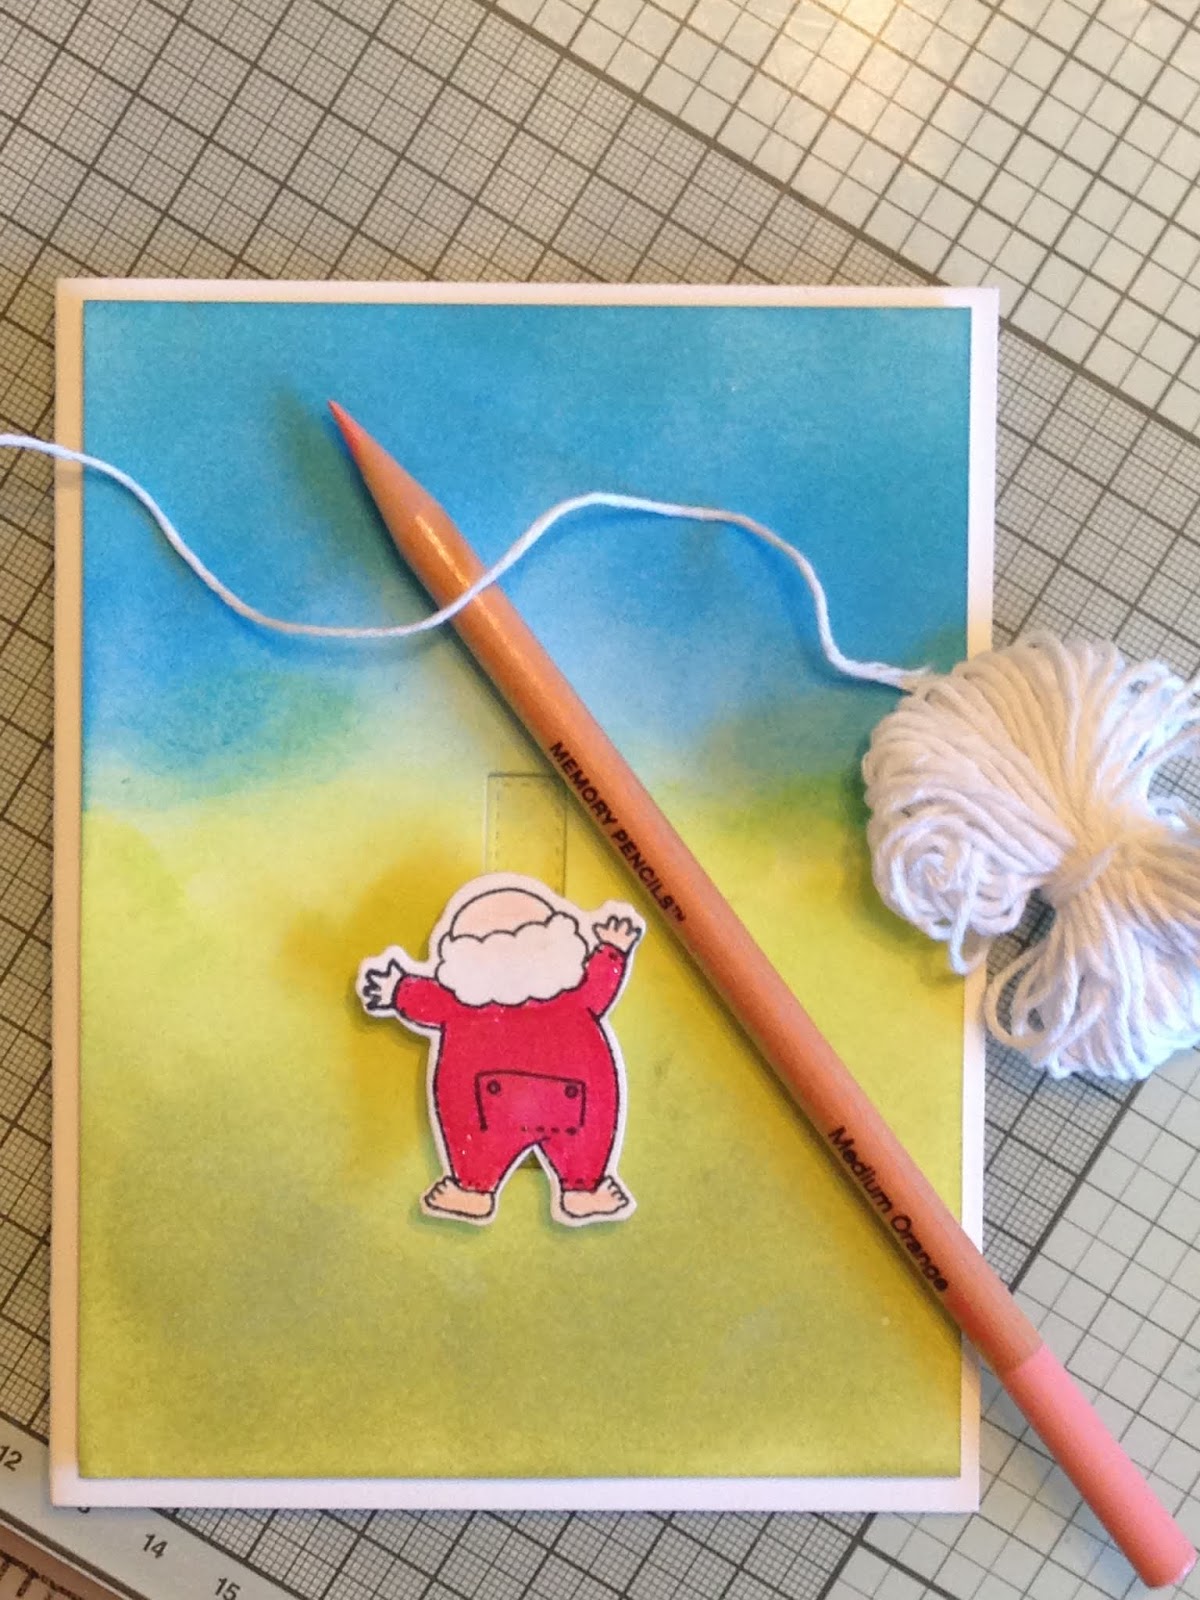
Then, I decided to break out my old set of Derwent Inktense Watercolor Pencils36 pc. set.  These are awesome! I so wish I had bought the 72 color pack.  


My last item was the 20 set of watercolor brush markers.  Cheaper than Zig Clean Color of which I own many, but not the big 80 pc sets.  Maybe, I'll ask for it for Christmas.


Now I just cut out all the sentiments that I had stamped out.  I used the nested circles with dots or crosses and the wonky stitched rectangles.  Most of these sets came from MFT Die-namics.


Ok, now to put these cards together.  I fused about quite a bit to see how to do it.  Finally, I came up with three cards that were pleasing to the eyes.  I used some Stampin Up Designer paper from last year and othjer paper from my stash.  Cute?  I thought so, and I hope you think so too.  


Nice, right?  I'm getting faster at card making and blogging.

Hope you can come around again.
~Nina


Friday, October 19, 2018

More fun with "Santa's Suit".

There was enough of the colored in die cuts left over from my project of yesterday using "Santa's Suit" to make another two cards.

I saw a similar card somewhere on the internet and I loved the mobile Santa reaching for his clothes on an actual clothesline.  I thought it out and came up with this method of making this card:

Firstly, I am going to color the back ground paper.  I used a couple of colors of Tim Holtz's Distress Oxide Inks.


Greens for the grass and Blues for the sky.


Then, I cut out a notch for him to glide/slide along.  I used an old dotted nested rectangle die set and the smallest one was just the right size.  So lucky!


Now, the trick is to elevate the entire front of the card so that Santa can slide along the track.  I used the 3M mega roll of foam tape.  I bought this 36 yard roll over three years ago and I love that I don't have to scrimp and save but I can just use it with abandon!  I actually take a bunch off and place it onto a smaller roll that is more handy.


I also used the foam tape on the back of all the items that will be hanging off the clothesline.  There is a trick to the slide portion too, that I must mention.  The slider can just be any scrap of paper folded to be thick but the edges of the slider track must be powdered a bit to prevent the slider from sticking to the foam tape.  The rectangle cutout is placed in back so the scene looks seamless.  Santa has two pop dots on his back that will attach to the sliding guide scrap piece of paper.


Opps, I almost forgot, the clothesline will need to be taped across the front.  I had to peel back the front and secure with some liquid glue.


The last step was to make the clothespins attach to the clothesline.  Ugh, what tedium.  But, they did turn out super cute, so it was worth it.  Here is one of the cards.


The other one: 


I'll just finish them up with the sentiments and they are ready to go.
Thanks for visiting and see you again.

~Nina


Thursday, October 18, 2018

Santa's Suit Christmas cards

I happened to come across these cute stamps and dies from Stampin' Up called Santa's Suit.  This set is no longer available at Stampin' Up but the link will show you that they do have many cute new stamp and die sets for this year.   Firstly, I just stamped a bunch of the images onto some of my favorite Neenah Classic Crest Solar White 80# card stock and cut out a few using the dies.


Then, the cardstock I used for the card bases was assembled. This is just some old Bazzill 80# cardstock from my stash.


The mouse pad that I use on my desk is an actual circle and I stamped the clothes carefully to hang off the clothesline made using the perimeter arc of this mouse pad!  
The next thing was to stamp in the clothespins.  Bow what a chore that is!  Then I colored the clothespins with some Zig Clean Color Watercolor Brush Pen in brown.


So, now for the putting together of the various cards. It would have been so much easier if I had just glued these onto the card fronts, but, then again, I'm not anything if I'm not complicated! I found this pack of Speciality Stampin' Up Christmas Holiday Fancy Designer Vellum paper.  It's from last year, so you'll have to get it on EBay.  I love it!  

I used a few other dies that I had around to cut some snowflake borders. I've been collecting dies for a long time and so I have many to choose from.  I used some HOTP Clear Sparkle glitter sheets and regular Blue paper too.  


Here are the finished cards:


Not too shabby, right?  6 cards so far and I still have some die cuts of this set left over.  I'll be back to make more cards later this week.

Thanks for visiting.
Nina


Claiming it on Bloglovin

<a href="https://www.bloglovin.com/blog/20588129/?claim=snqscfx3kga">Follow my blog with Bloglovin</a>